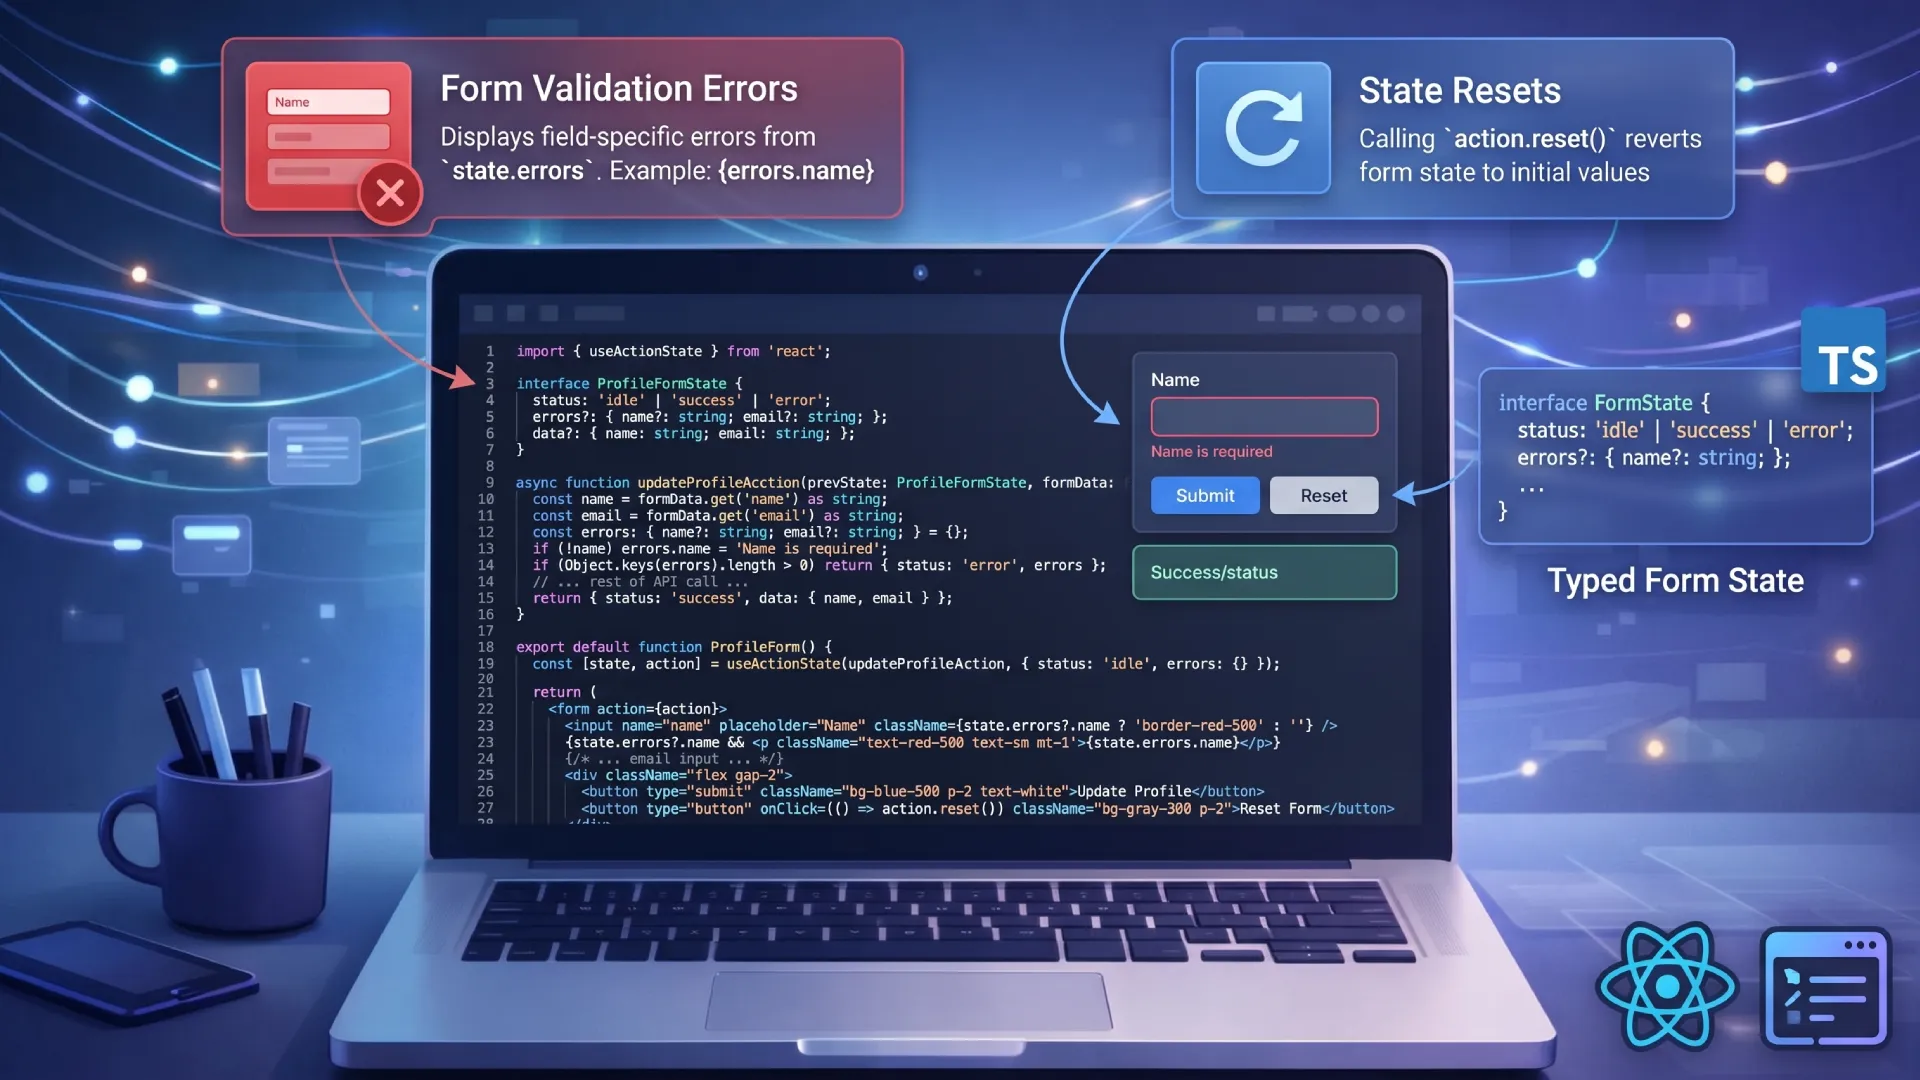
React TypeScript: Props, Hooks and Events in React 19
Set up React with TypeScript in Vite, type props, state and events the React 19 way, and fix the compiler errors that code from older tutorials now triggers.
To use React with TypeScript, scaffold a project with npm create vite@latest my-app -- --template react-ts (or start from a framework such as Next.js), write components in .tsx files, and type each component's props as a plain function parameter. @types/react already types every hook and event, so most of your work is typing props, annotating state that inference gets wrong, and validating data from outside the app.
The part that trips people up in 2026 is not React. It is that the project template ships a strict tsconfig and React 19 changed several types, so code copied from a tutorial written two years ago fails to compile. Everything below was run against a fresh create-vite 9.2.1 project with React 19.3.0, @types/react 19.3.0, TypeScript 6.0.3 and Vite 8.3.0, and every error message is the compiler's real output.
How do you set up a React TypeScript project?
Run the Vite template, install, and start the dev server. Vite 8 needs Node.js 20.19 or newer on the 20 line, or 22.12 and up, per its engines field and the Vite getting started guide.
npm create vite@latest my-app -- --template react-ts
cd my-app
npm install
npm run dev
Skip Create React App. The React team deprecated it on 14 February 2025 because it has no active maintainers, and recommends a framework for new apps, with Vite, Parcel or Rsbuild as the do-it-yourself option. If you need routing and server rendering from day one, Next.js has TypeScript built in, and the React Server Components guide covers what changes there. For a client-side app or for learning, the Vite template is the shorter path.
One detail in the generated package.json matters later: the build script is tsc -b && vite build. Vite itself only strips types. The tsc -b step in front of it is the only thing in the project that checks them.
What the template's tsconfig switches on
The app settings live in tsconfig.app.json. Notice what is missing: there is no strict key, because TypeScript 6 enables strict mode by default. An untyped parameter fails with TS7006 in this project, while the same file under TypeScript 5.4 with no strict key compiles. Copy this config into an older project and you silently lose strict mode, so add "strict": true there. Four of the options that are listed explain most first-day errors:
| Option | What it enforces | Error you see |
|---|---|---|
| "jsx": "react-jsx" | JSX compiles without React in scope, so import React is unnecessary | TS6133 on an unused React import |
| verbatimModuleSyntax | Types must be imported with import type or an inline type marker | TS1484 |
| erasableSyntaxOnly | No TypeScript syntax that emits code, which rules out enum and parameter properties | TS1294 |
| noUnusedLocals | Declared but unread variables fail the build | TS6133 |
The TypeScript reference explains the reasoning behind verbatimModuleSyntax: a tool that compiles one file at a time cannot tell whether an import is a type, so the source has to say so. Leave these options on. They cost a keyword here and there and they match how Vite actually transforms your code.
Why does code from older tutorials fail to compile?
Because it was written for React 18 types and a looser config. Here is a component in the style most pre-2025 tutorials used; an earlier version of this post imported ChangeEvent exactly this way. Against @types/react 18.3 and TypeScript 5.4 in strict mode it compiles with no errors.
import React, { useState, useRef, ChangeEvent } from 'react';

enum Status {
  Idle,
  Loading,
}

export function SearchBox(): JSX.Element {
  const [query, setQuery] = useState('');
  const [status, setStatus] = useState(Status.Idle);
  const timerRef = useRef<number>();

  const handleChange = (event: ChangeEvent<HTMLInputElement>) => {
    setQuery(event.target.value);
    window.clearTimeout(timerRef.current);
    timerRef.current = window.setTimeout(() => setStatus(Status.Loading), 300);
  };

  return (
    <div>
      <input value={query} onChange={handleChange} />
      {status === Status.Loading && <p>Loading</p>}
    </div>
  );
}
Dropped into the new project, npx tsc -b prints five errors for it:
src/SearchBox.tsx(1,8): error TS6133: 'React' is declared but its value is never read.
src/SearchBox.tsx(1,35): error TS1484: 'ChangeEvent' is a type and must be imported using a type-only import when 'verbatimModuleSyntax' is enabled.
src/SearchBox.tsx(3,6): error TS1294: This syntax is not allowed when 'erasableSyntaxOnly' is enabled.
src/SearchBox.tsx(8,30): error TS2503: Cannot find namespace 'JSX'.
src/SearchBox.tsx(11,20): error TS2554: Expected 1 arguments, but got 0.
The first three come from the config table above. The last two are React 19 type changes, both listed in the TypeScript section of the React 19 upgrade guide. The global JSX namespace is gone in favour of React.JSX, and useRef now requires an initial value, so the argument-less timer ref above now needs an explicit undefined, as in useRef<number | undefined>(undefined). The version that compiles:
import { useState, useRef, type ChangeEvent, type JSX } from 'react';

type Status = 'idle' | 'loading';

export function SearchBox(): JSX.Element {
  const [query, setQuery] = useState('');
  const [status, setStatus] = useState<Status>('idle');
  const timerRef = useRef<number | undefined>(undefined);

  const handleChange = (event: ChangeEvent<HTMLInputElement>) => {
    setQuery(event.target.value);
    window.clearTimeout(timerRef.current);
    timerRef.current = window.setTimeout(() => setStatus('loading'), 300);
  };

  return (
    <div>
      <input value={query} onChange={handleChange} />
      {status === 'loading' && <p>Loading</p>}
    </div>
  );
}
A string literal union replaces the enum and reads better in JSX. The return type annotation is optional; inference gets it right, and most codebases leave it off. For a DOM element the same rule gives useRef<HTMLDivElement>(null), which returns a RefObject<HTMLDivElement | null>; the useRef guide covers both kinds of ref in depth.
How do you type props in a React component?
Declare a props type and annotate the destructured parameter. Optional props get a ?, anything renderable is ReactNode, and a default value in the destructuring narrows the optional type for you.
import type { ReactNode } from 'react';

type CardProps = {
  title: string;
  footer?: ReactNode;
  tone?: 'neutral' | 'danger';
  children: ReactNode;
};

export function Card({ title, footer, tone = 'neutral', children }: CardProps) {
  return (
    <section data-tone={tone}>
      <h2>{title}</h2>
      {children}
      {footer !== undefined && <footer>{footer}</footer>}
    </section>
  );
}
Prefer this over React.FC<CardProps>. Since React 18, FC no longer adds a children prop, so it buys nothing, and it gets in the way the moment a component is generic. The type parameter has nowhere to live:
import type { FC, ReactNode } from 'react';

type ListProps<T> = { items: T[]; renderItem: (item: T) => ReactNode };

export const List: FC<ListProps<T>> = ({ items, renderItem }) => (
  <ul>{items.map(renderItem)}</ul>
);
// error TS2304: Cannot find name 'T'.
As for type or interface for props: either works, and the only practical difference is that interfaces can be reopened and merged. Props should not be, so this post uses type, which also handles the unions further down. Pick one per codebase and stop debating it.
Wrapping a native element with ComponentProps
A design-system button should accept every attribute a real <button> does. Retyping them by hand is a losing game. Intersect ComponentProps<'button'> with your own props and spread the rest:
import type { ComponentProps } from 'react';

type ButtonProps = ComponentProps<'button'> & {
  variant?: 'primary' | 'ghost';
};

export function Button({ variant = 'primary', ...rest }: ButtonProps) {
  return <button data-variant={variant} {...rest} />;
}

// Usage, with saving and buttonRef in scope: type, disabled and ref all type-check.
<Button type="submit" disabled={saving} ref={buttonRef} variant="ghost">
  Save
</Button>;

<Button variant="danger">Delete</Button>;
// error TS2322: Type '"danger"' is not assignable to type '"primary" | "ghost" | undefined'.
Note the ref. In React 19 a function component receives ref as an ordinary prop, and ComponentProps<'button'> includes it, so the wrapper needs no forwardRef. That was the most awkward piece of typing in React 18 and it simply went away.
When does useState need a type argument?
Only when the initial value is a placeholder rather than a sample of what the state will hold. useState(0) and useState('') infer correctly. An empty array and null do not, and the errors only appear where you set the state, not where you declare it.
import { useState } from 'react';

type User = {
  id: number;
  name: string;
};

export function Users() {
  const [users, setUsers] = useState([]);
  const [selected, setSelected] = useState(null);

  function add(user: User) {
    setUsers([...users, user]);
    setSelected(user);
  }

  return (
    <button onClick={() => add({ id: 1, name: 'Ada' })}>
      {users.length} {selected}
    </button>
  );
}src/Users.tsx(13,15): error TS2322: Type 'User' is not assignable to type 'never'.
src/Users.tsx(13,25): error TS2322: Type 'User' is not assignable to type 'never'.
src/Users.tsx(14,17): error TS2345: Argument of type 'User' is not assignable to parameter of type 'SetStateAction<null>'.
Type 'User' provides no match for the signature '(prevState: null): null'.[] infers never[] and null infers the type null, so nothing can ever be stored. The fix is the type argument, useState<User[]>([]) and useState<User | null>(null). Hooks with more moving parts follow the same idea at a larger scale: the useReducer guide types actions as a union, and the Context API guide shows the null default plus custom hook pattern that keeps consumers from checking for null everywhere.
Which event types does React 19 use?
Usually none that you write. An inline handler such as onChange={(e) => setQuery(e.target.value)} is inferred from the element it sits on. You need a name for the type only when the handler is defined separately, and the name comes from the prop:
| Prop | Parameter type |
|---|---|
| onClick on a button | MouseEvent<HTMLButtonElement> |
| onChange on an input | ChangeEvent<HTMLInputElement> |
| onKeyDown | KeyboardEvent<HTMLInputElement> |
| onSubmit on a form | SubmitEvent<HTMLFormElement> |
The last row is recent. Most material still says FormEvent, which @types/react 19.2.10 (January 2026) marked deprecated with the note "FormEvent doesn't actually exist". It still compiles, so nothing breaks, but your editor strikes it through. The replacement is SubmitEvent, which also types the submitter property, the button that triggered the submit:
import type { SubmitEvent } from 'react';

export function SignupForm() {
  function handleSubmit(event: SubmitEvent<HTMLFormElement>) {
    event.preventDefault();
    const data = new FormData(event.currentTarget);
    console.log(data.get('email'), event.submitter?.id);
  }

  return (
    <form onSubmit={handleSubmit}>
      <input name="email" type="email" />
      <button id="signup">Sign up</button>
    </form>
  );
}
Typing generic components and async state
This is where TypeScript earns its place in a React app. Separate isLoading, error and data fields allow combinations that should be impossible, like loading with an error at the same time. A discriminated union makes the compiler enforce the real states:
import type { ReactNode } from 'react';

type User = { id: number; name: string };

type UsersState =
  | { status: 'loading' }
  | { status: 'error'; message: string }
  | { status: 'ready'; users: User[] };

type ListProps<T> = {
  items: T[];
  getKey: (item: T) => string | number;
  renderItem: (item: T) => ReactNode;
};

export function List<T>({ items, getKey, renderItem }: ListProps<T>) {
  return (
    <ul>
      {items.map((item) => (
        <li key={getKey(item)}>{renderItem(item)}</li>
      ))}
    </ul>
  );
}

export function UserPanel({ state }: { state: UsersState }) {
  if (state.status === 'loading') return <p>Loading</p>;
  if (state.status === 'error') return <p role="alert">{state.message}</p>;
  return (
    <List items={state.users} getKey={(u) => u.id} renderItem={(u) => u.name} />
  );
}
After the two early returns, TypeScript knows state is the ready variant, so state.users is allowed. Reach for it before checking status and the compiler stops you with error TS2339: Property 'users' does not exist on type 'UsersState'. The generic List infers T as User from items, so a typo such as u.email inside renderItem fails too, with Property 'email' does not exist on type 'User'. No annotation is needed at the call site. That inference is exactly what the FC version above could not do.
What TypeScript does not check: data from your API
Types are erased before the code runs. Response.json() is declared in TypeScript's DOM library as returning Promise<any>, so annotating the result is an assertion, not a check. This compiles with zero errors:
type User = { id: number; name: string };

const res = new Response(JSON.stringify({ id: 1, full_name: 'Ada Lovelace' }));
const user: User = await res.json();
console.log(user.name.toUpperCase());
tsc exits 0. Running it on Node 24 prints TypeError: Cannot read properties of undefined (reading 'toUpperCase'). The backend renamed a field and the type system had no way to know. In a component, that failure shows up as a blank screen or an error boundary, far from the request that caused it. Validate at the boundary instead: Zod schema validation parses the response and gives you the type from the same schema, and fetching data in React covers where that parse belongs relative to your effects and caches.
What to reach for, and when not to
| Situation | Use | Avoid |
|---|---|---|
| New client app | Vite react-ts template, strict config as generated | Create React App, loosening tsconfig to silence errors |
| Needs routing and SSR now | Next.js | Assembling a router and SSR yourself on Vite |
| Props | Plain function with a typed parameter | React.FC, especially for generics |
| Wrapping native elements | ComponentProps<'tag'>, ref as a prop | forwardRef in new React 19 code |
| Fixed set of values | String literal union | enum, which the template rejects |
| Async state | Discriminated union on status | Separate loading, error and data flags |
| API responses | Runtime validation with a schema | Annotating await res.json() and trusting it |
The one rule that matters more than any row in that table: never let type checking live only in your editor. The template gives you tsc -b in the build script for a reason, and a bare vite build in CI will ship type errors without a word.
Where TypeScript stops paying for itself is typing things you do not own. If you catch yourself writing long conditional types to describe a third-party component's props, reach for ComponentProps<typeof ThatComponent> and move on. Once state spreads across many components, the next decision is which store to use, and the React state management comparison weighs Zustand, Jotai and the rest with TypeScript in mind. The official Using TypeScript page and the React TypeScript Cheatsheet are the two references worth bookmarking.
Frequently asked questions
Should I use React.FC or type the props directly?
Type the props directly. React.FC used to be the default recommendation, but until React 18 it added an implicit children prop that most components do not accept, and it still makes generic components awkward to write. A plain function with a typed props parameter gives you the same checking with fewer surprises. The generic case shows it: FC<ListProps<T>> has nowhere to declare T, so it fails with error TS2304, Cannot find name T, while function List<T>(props: ListProps<T>) infers T from the items you pass. React.FC is not wrong, it is just no longer the path of least resistance.
Do I need to write a type for useState, or is inference enough?
Inference is enough whenever the initial value is representative of everything the state will hold. useState(0) is a number and needs nothing from you. You have to be explicit when the initial value is narrower than the real type, which in practice means null or an empty collection: useState(null) infers null on its own and then rejects every user you try to set, and useState([]) infers never[] and rejects every element you add. The rule of thumb is that you annotate when the first value is a placeholder rather than a sample. Objects assembled over time are the other common case, because an empty object literal infers a type with no properties and then refuses each one you assign. If you find yourself casting the argument you pass to the setter, that is the signal you skipped an annotation you needed.
Which types do I use for event handlers?
React ships them, so you rarely write your own. A button click is React.MouseEvent<HTMLButtonElement>, and a text input change is React.ChangeEvent<HTMLInputElement>. The element in the generic is what gives you a typed event.target, which is the part you actually wanted. If you attach the handler inline, TypeScript infers all of this from the JSX and you can skip the annotation entirely, which is why inline handlers so often need no types at all. You need the explicit form when the handler lives away from the JSX, in a custom hook or a shared utility, because there is no element left for inference to read. Forms are the case worth memorising: a submit handler takes React.SubmitEvent<HTMLFormElement>. Older tutorials say FormEvent, which @types/react marked deprecated in version 19.2.10. It still compiles, but SubmitEvent is the accurate type and it also exposes event.submitter, the button that sent the form.
Does TypeScript check the data coming back from my API?
No, and this catches people out. Types are erased at compile time, so annotating a fetch response as User is a claim rather than a check. If the API returns something else, TypeScript stays quiet and the failure surfaces later as undefined somewhere in your render, usually several components away from the request that caused it. The gap widens the moment a backend team renames a field: nothing in your build fails, and the first signal is a production error naming a property rather than an endpoint. Validating the response at the boundary with a schema library closes that gap for the cost of one parse per request. Doing it means the error names the exact field that changed, at the point the data arrived, instead of somewhere in the render tree.
Is React written in TypeScript?
No. React itself is written in JavaScript annotated with Flow, the type checker Meta uses internally, and the react package on npm ships no type declarations of its own. The TypeScript types come from the @types/react package, published from the DefinitelyTyped repository, and the Vite react-ts template installs it for you. This is why you can use TypeScript with React without any special build of React: the types describe the library from the outside. It also answers the React versus TypeScript question, which is not really a choice between the two. React is the UI library and TypeScript is the language you write it in, and because types are erased at build time, the code that reaches the browser is plain JavaScript either way. What changes is how many mistakes the compiler catches before you ship.
Related Articles